How To...
Do A Shellac Manicure
Being at home the last few weeks has been a much difference experience than simply 'being' at home but it has given us a chance as relatively new homeowners, to spend our first extended periods of time making our house a home.
Restyling rooms, cooking dinners together, painting everything in sight, cleaning like never before and the most detrimental to my nails? Getting stuck into our garden and finally giving it the love and attention it deserves. We may not be Alan Titchmarsh and Charlie Dimmock but we've definitely been doing our best...
I mentioned in my most recent blog post about At Home Beauty I can't live without, that my nails and I have had a tumultuous relationship since being at home. We've gone from best friends, to most certain enemies and now we're somewhere around the acquaintance stage with fresh new 'naked' nails my newest love after all that gardening and breakage.
When I have had a slow evening and I've felt inspired, I've been spending a couple of hours with a glass of wine and my new nail kit trying to recreate a manicure worthy of DryBy but as I already knew, it really isn't that easy haha So here's how to create a gel shellac manicure at home if you're missing your nail appointments as much as me and you're in the mood to get a little creative.


This blog post & shop widgets use affiliate links.
Affiliate text links are marked (ad).
Read the disclaimer about affiliate links & PR gifting here.
How To Create a Gel Shellac Manicure
1. First things first, it must be noted that this isn't a quick fix! Taking on your own shellac manicure at home is something that can easily take hours so it's best to make sure you have not only everything you need to do them (you can find everything I researched and purchased above) but that you also have a few hours spare to really take your time.
2. My second point may seem obvious, but I spent years doing it and I so regret it - if you already have gel nails on before you create your new manicure, DON'T pick them off. Years of doing that really weakened my nails and I'm now so careful to wait, however much I'm tempted to pick/peel them, until my nail appointment and it has left me with much stronger, healthier nails.
3. My usual go to at my DryBy visits is a shellac manicure on top of a gel overlay. I don't tend to extend my nails and I just use the gel overlay as an opportunity to have a stronger base for my colour. To remove both of these at home took me quite some time (as they are separate components) but I learned along the way, the best thing to do.
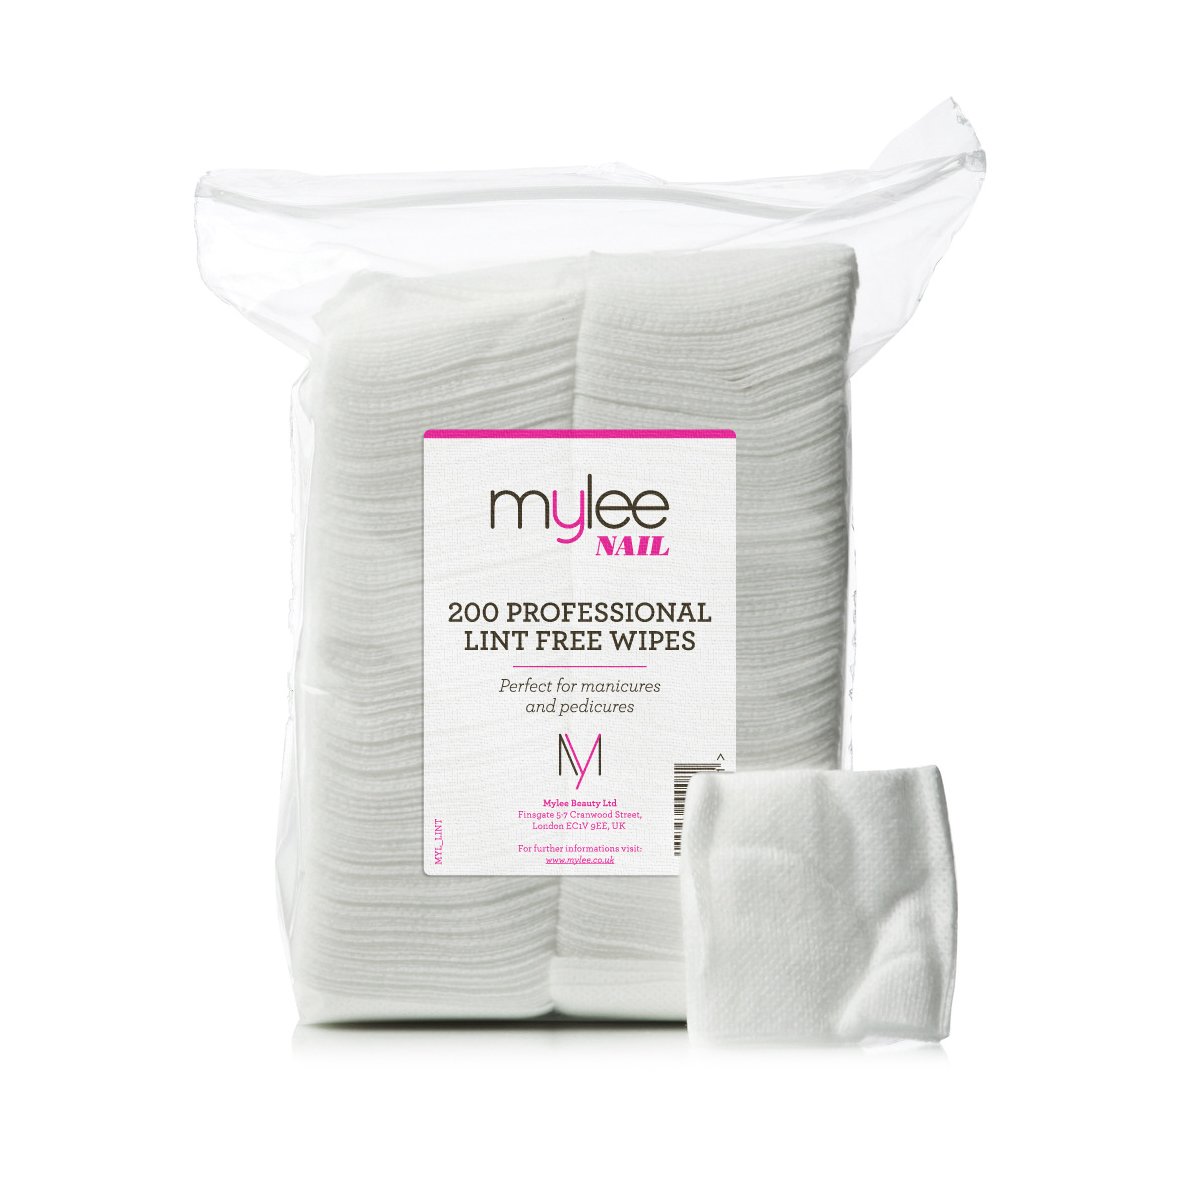
4. Removing Shellac - Carefully and gently file the top shellac layer of your nails to break the seal and when the shellac is filed with no 'shine' left' wrap your gel nails in lint free pads (ad), soaked in CND Moisturising Remover (ad) and then tin (or aluminium for those of you across the Atlantic) foil. This is the gentlest way to avoid weakening your nails if you only have a shellac manicure to remove.
5. Removing Gel Nails - If you have shellac on top of your gel overlay, you can complete the top step or simply file down to your gel layer but then you will need to wrap your nails in lint free pads, soaked in acetone and then tin foil to remove the thicker, stronger gel layer. The gel will then peel back and you can use a cuticle pusher/gel remover (ad) to remove the gel fully. (In the above video I chose to leave a small gel layer and not remove them fully with acetone the first time I attempted this.)
6. Filing/Cleaning Nails - After removing your gel and/or shellac and filing your nails down to your preferred shape, you will be left with nails that have a small amount of dirt/dust/debris on them. Take a lint free wipe (so important at all stages to use lint free wipes to ensure no extra debris is deposited onto your nails) soak it in CND Scrub Fresh (ad) and gently wipe over your nails and cuticles. This will leave your nails fresh and ready for your shellac manicure.
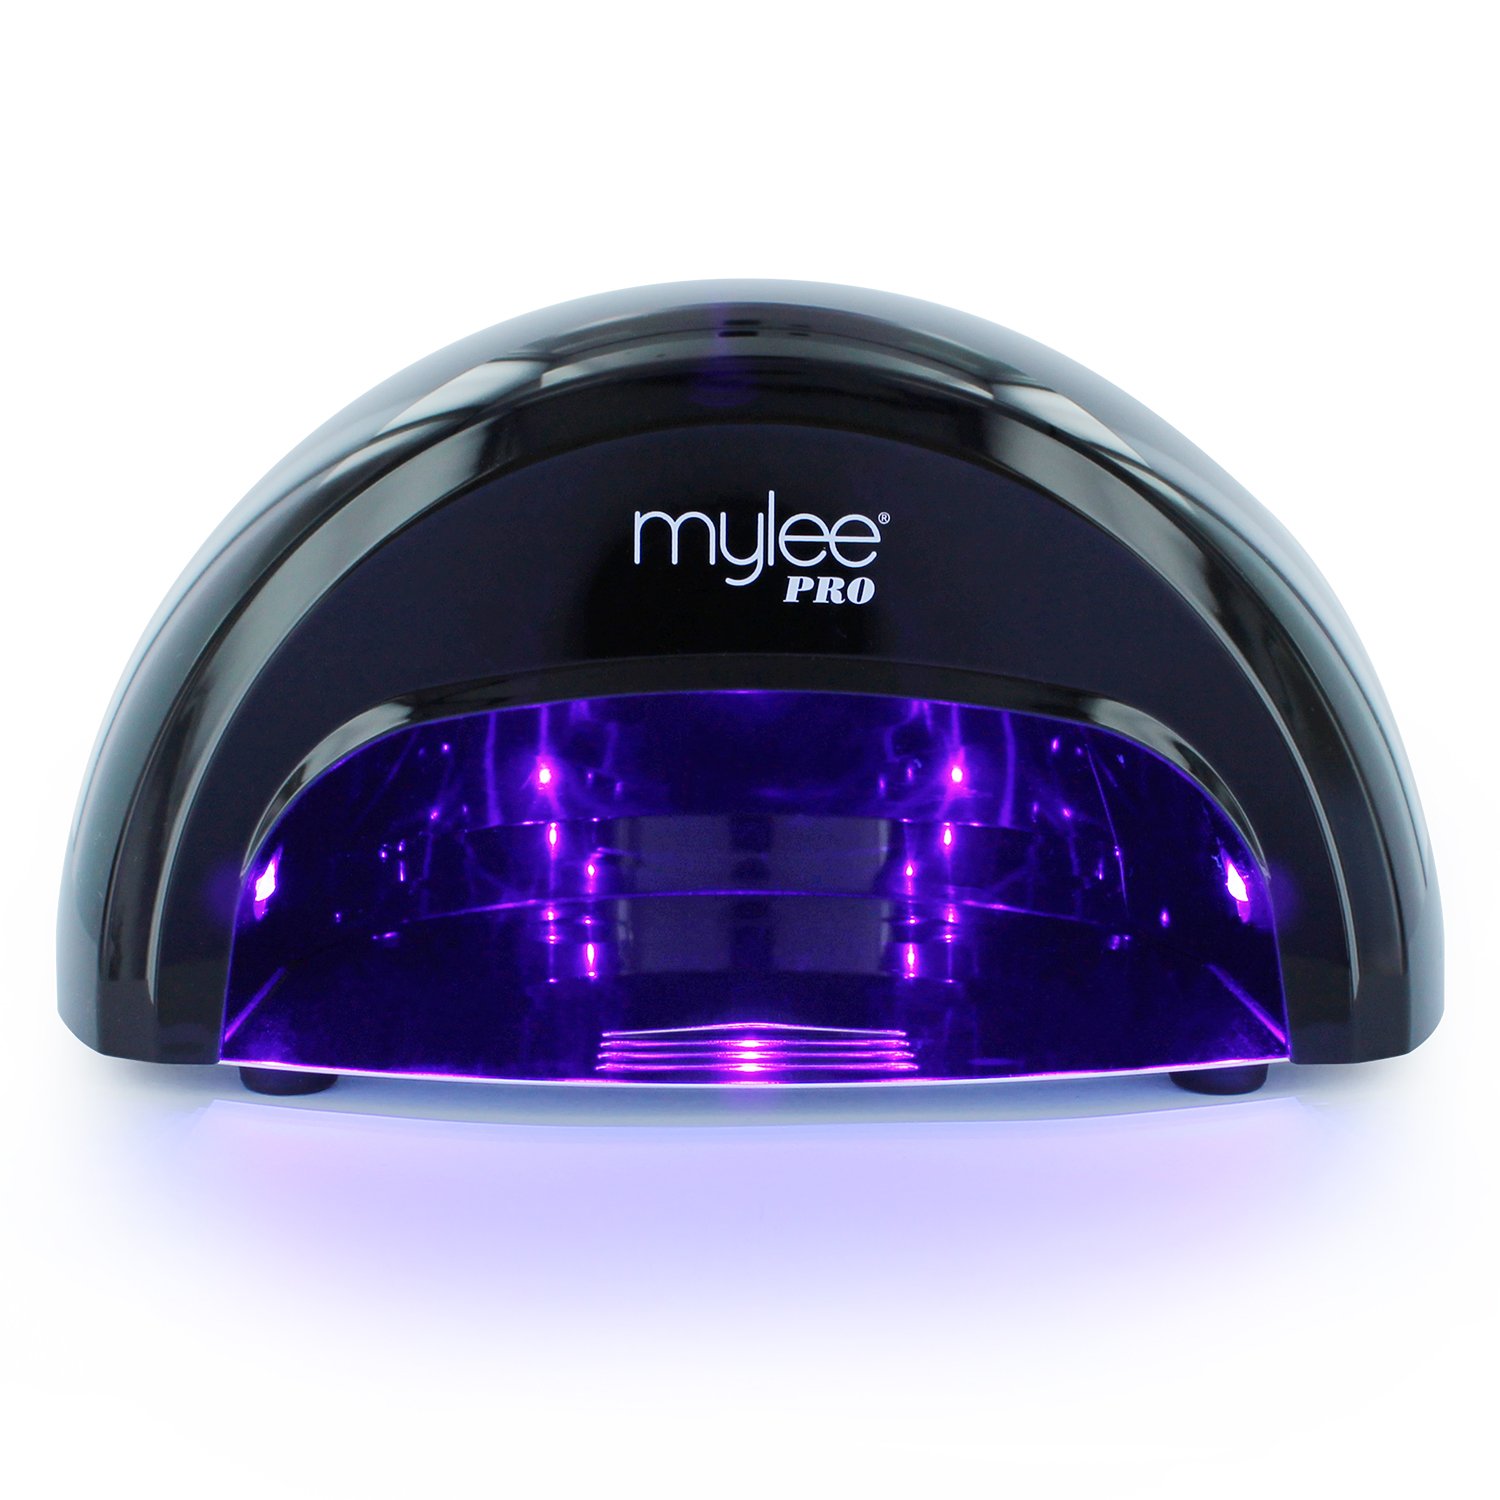
7. Shellac Manicure - Now your nails are filed to perfection, clean and free from any debris it's time to stat the manicure process. Ensure your UV Lamp (ad) is plugged in and anything else you may need during this part of the process is close by. Carefully paint your chosen Base Coat (ad) onto your first set of nails (one hand at a time of course) and seal them using your UV lamp. This will ensure your base coat is ready for your chosen colour and protects your nail from staining.
8. Shellac Manicure - Your chosen nail colour will likely only need 2 coats but may need 3 if you have picked a slightly sheer shade or a shimmer/sparkle top layer. Just as you did with your base coat, paint your chosen colour onto your nails and seal by using your UV lamp. (In this video I used a combination of CND Unearthed (ad) and CND Beau (ad). I also love and often use CND Romantique).
9. Using the exact same system as above take your chosen Top Coat (ad) and seal your entire manicure using your UV lamp. Repeat the previous steps on your other hand (I've found this often takes longer as you're now using your non dominant hand) and you're almost done!
10. Then to remove that slight tackiness that comes with the end of a shellac manicure, take a lint free wipe, soaked in CND D:Sperse (I used the Scrub Fresh again in this video but lots of people said to try D:Sperse for a shinier finish if you can find it) and wipe over your nails and cuticles. I would also recommend CND Solar Oil (ad) or Daddy Oil to moisturise your finger tips/cuticles not only immediately after a manicure but to use every evening.
Hope you love your nails!
Please note I am NOT an expert and purely created this video as so many people were also in the same boat and wanted to indulge in some new nails. I took advice from my own nail technician and if you have any issues/technical questions I would advise you to do the same :)
And as always if you have any tips for me, suggestions or even recommendations for new episodes of How To in 10 I'd love to hear them so I can continue to make content that's helpful, entertaining and hopefully bring you something a little different in a short time :)